Building a Chrome extension with Flutter
How to expand Flutter web support to build a Chrome extension.

A Chrome extension is a great way to make your experience more easily accessible to users with a click of a button. With Flutter, we use our shared codebase for all of our platforms including our Chrome extension which you can checkout out here.
If you would like to skip going through the steps to convert a new Flutter web application to a Chrome extension and just get started, you can clone our sample repo and get straight to building your extension.
For folks who haven’t experimented much with Flutter web yet or are starting their first application, not to worry! I’d recommend first familiarizing yourself a little with Flutter Web. Ready to get started? Let’s dive in!
Creating your project
The first step to building your extension is to get it working on regular Flutter web. If you’re working with a new Flutter app, this is as simple as creating and running your project:
 flutter create my_chrome_extension
 cd my_chrome_extension
 flutter run -d chrome
Once your Flutter web app is up and running, it should open in the browser with some demo code that looks like this:
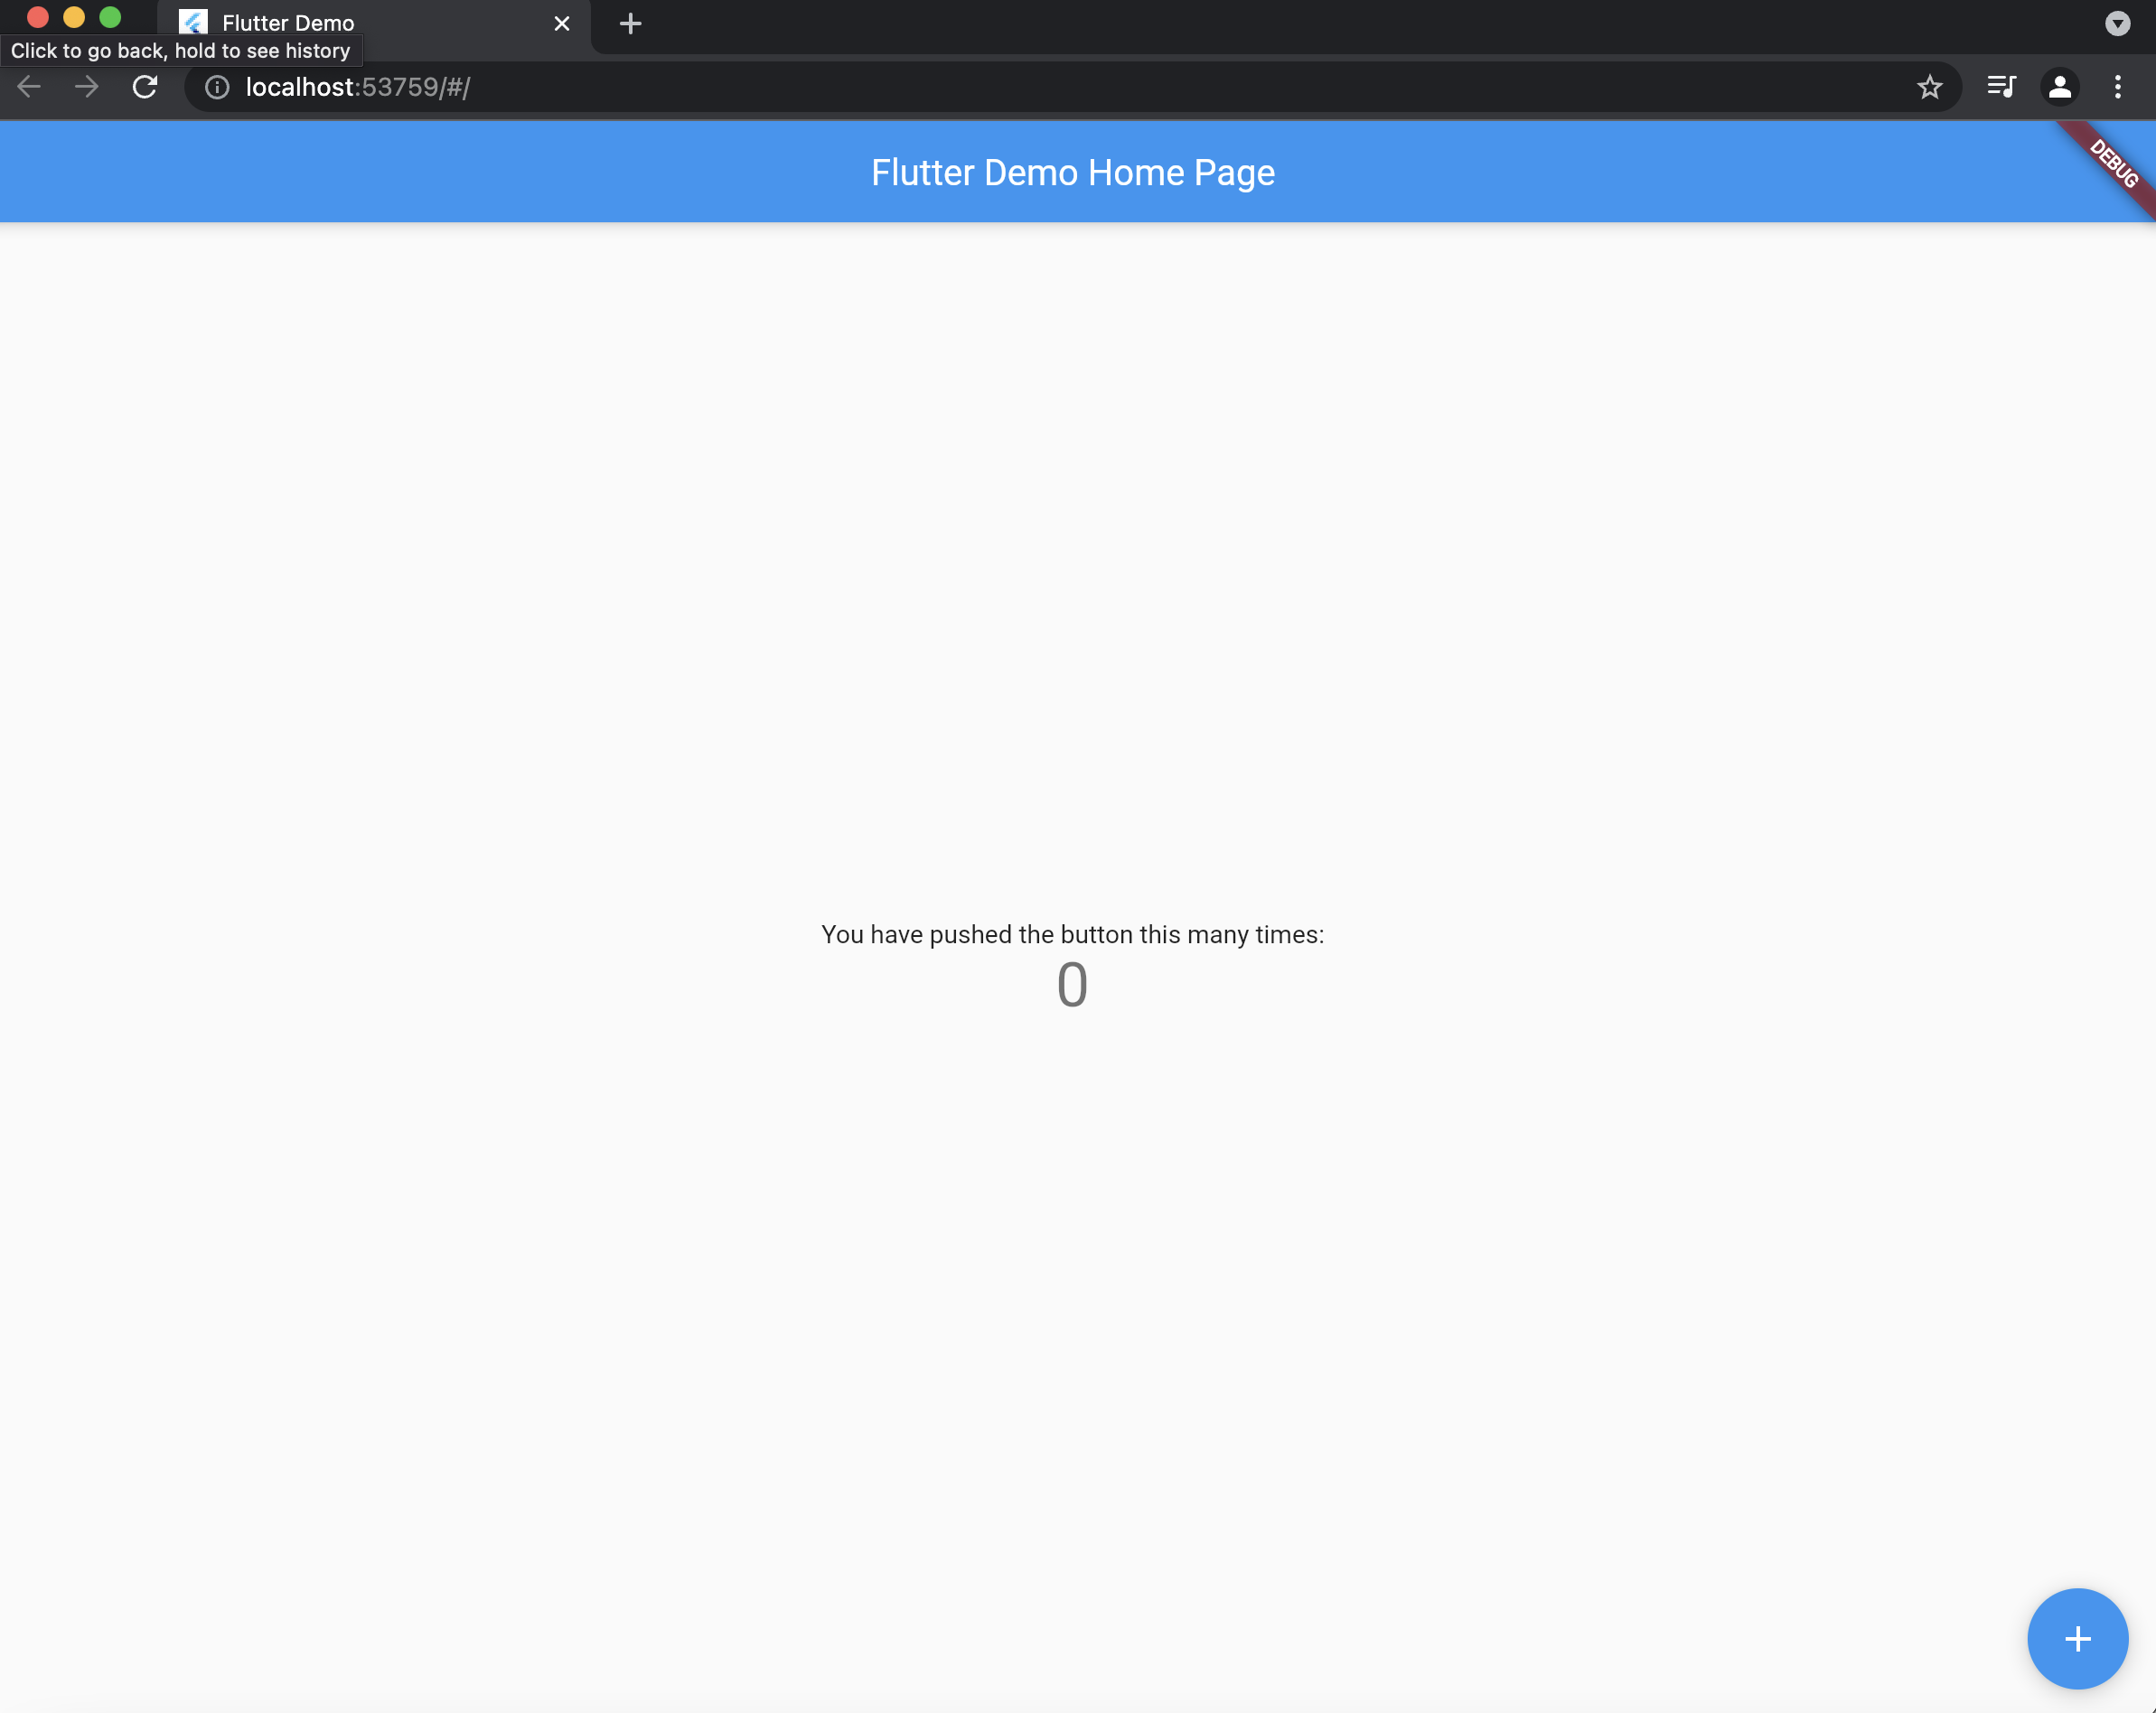
Looking good! Now let’s take a look at a couple important things to note in your project’s folder structure:
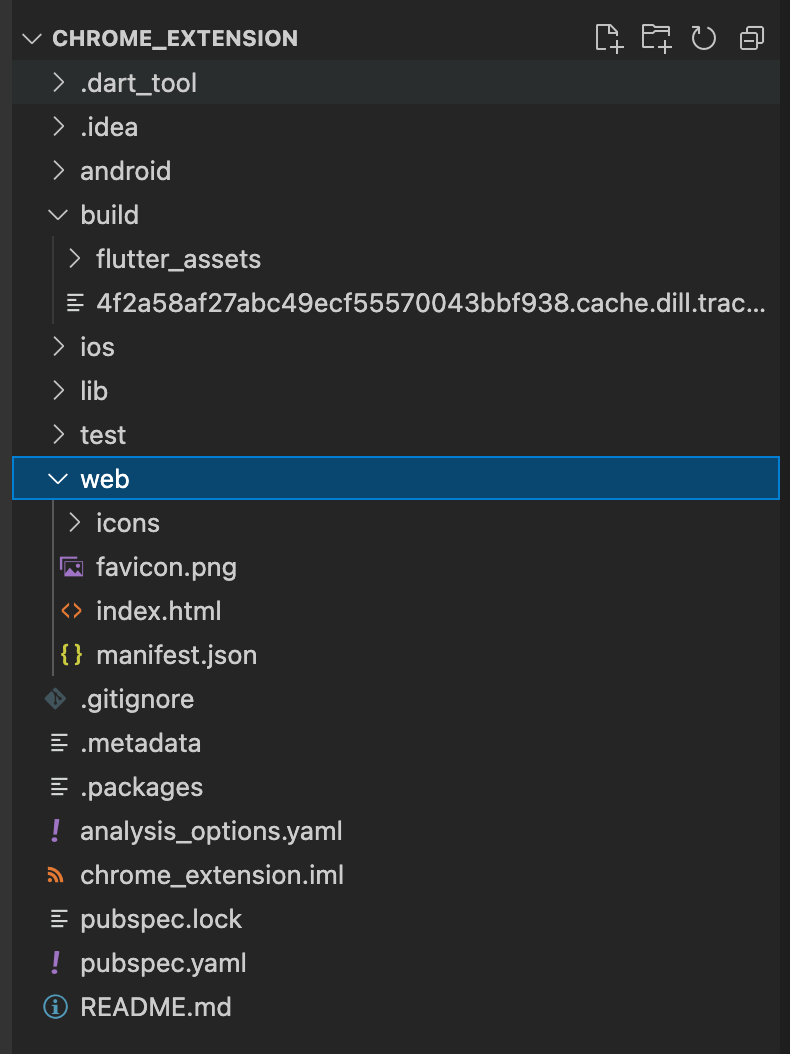
The web folder
The first folder to look at is the top level web folder. This is where you will find the Flutter code relevant to your web application including a favicon, a manifest file for Progressive Web App support and your index.html.
If we open up the index file, we can see that on parsing your application’s index.html, the file main.dart.js is loaded. When you build your web app, all of the Flutter Dart code is transpiled into this JavaScript file in your build folder.
The build folder
The build folder contains all of your application’s code, assets and other necessary dependencies. Your web specific build can be found under /build/web and this is the folder we’ll zip and upload to the Chrome store when we’re ready to submit our new extension.
Configuring your extension
To try and run your application as an extension in Chrome, perform the following steps:
- Run
flutter build web. You will need rebuild every time you make a change to your project files. - Navigate to
chrome://extensionsin your browser and hitload unpacked:
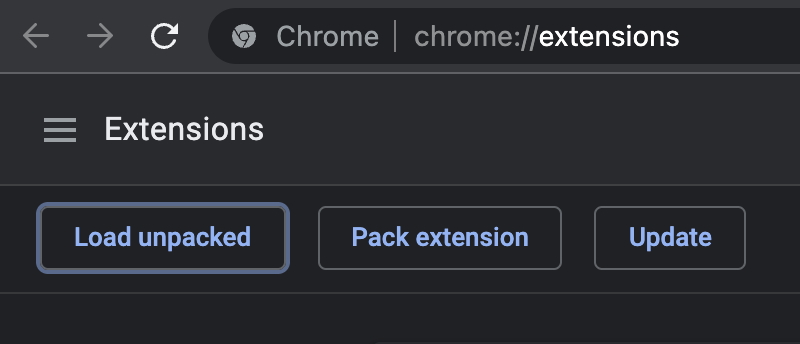
- Load the
my_chrome_extension/build/webfolder.
You should immediately get an error related to a missing manifest_version key that looks like this:
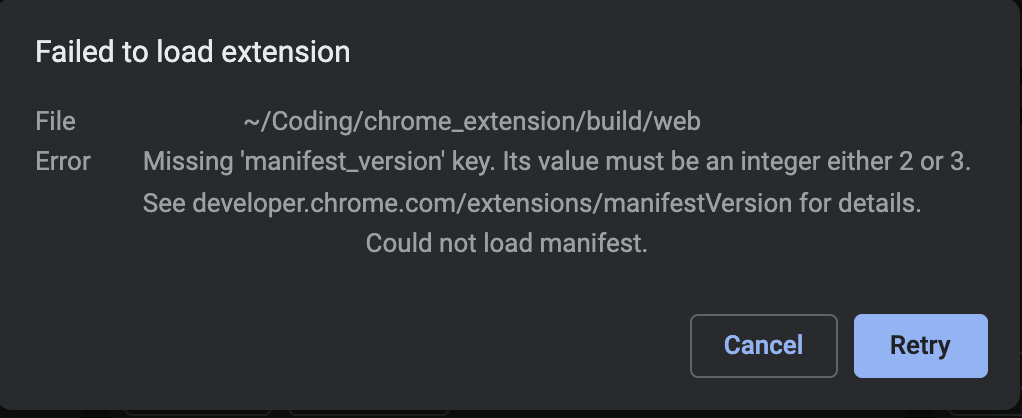
According to the Chrome developer docs:
Applications are simply bundles of resources, wrapped up with a manifest.json file that describes the package’s contents. The format of this file is generally stable, but occasionally breaking changes must be made to address important issues. Developers should specify which version of the manifest specification their package targets by setting a manifest_version key in their manifests.
In order to get our extension working, we will need to specify a manifest_version and change a few other fields to convert the default PWA manifest.json file to one designed for a Chrome extension. Our updated manifest now looks like this:
{
  "manifest_version": 2,
  "version": "0.0.1",
  "name": "chrome_extension",
  "description": "A new Flutter project.",
  "browser_action": {
    "default_popup": "index.html",
    "default_icon": {
      "16": "icons/icon-192.png",
      "32": "icons/icon-192.png",
      "48": "icons/icon-192.png",
      "128": "icons/icon-192.png"
    }
  }
}
Let’s go through what each of these fields are for:
- version: This is the version of your extension that you will update whenever you submit a new build to the developer store.
- name: The name of your extension that users will see on the store.
- description: A description of your extension that will be shown when users browse your application’s page on the developer store.
- browser_action: The browser action is the configuration for your extension in the Chrome extensions toolbar. We specify it with a couple config options:
- default_icon: The icons to display for your extension such as on
chrome://extensionsand in the browser tool bar. The smallest one that comes in a default Flutter app is the 192x192 asset file inweb/icons/icon-192.pngso we’ll use that for now. You’ll want to replace and resize these icons with your own later. - default_popup: The HTML file to load and display under the browser icon when the extension is clicked in the toolbar.
- default_icon: The icons to display for your extension such as on
To learn more about what these fields and many more config options for your extension, check out the API documentation.
Now let’s try and open our extension again.
- Rebuild your project with
flutter build web. - Load the unpacked build output from
build/web.- Pin your extension to the tool bar.
- Click your application to open the popup.
You should see a little white square popup underneath your extension’s default Flutter logo:
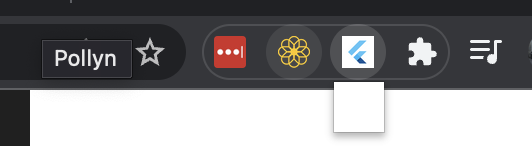
You’ve loaded your first extension! Congrats! 🎉🎉🎉
We probably were expecting something a bit fancier than a a small blank square though, so let’s take a look at what’s going on. If you right-click on the square and open the inspector, you can see an error in the console:

To help understand this one, let’s turn once more to the Chrome developer documentation:
You can’t use inline scripting in your Chrome App pages. The restriction bans both
Flutter web apps load your build’s main.dart.js file we saw earlier using a service worker inlined in the index.html file. To fix this issue, we can just move this inline script to an adjacent flutter_app.js file and include it in the body of the index.html as shown below:
<html>
  <body>
    <script src="flutter_app.js" type="application/javascript"></script>
  </body>
</html>
Now when we rebuild our extension and open it again, we run into one more issue:

The chrome extension was unable to load the CanvasKit web assembly library. CanvasKit is the default web renderer Flutter uses to draw the application’s interface on web. According to its own documentation:
CanvasKit is a wasm module that uses Skia to draw to canvas elements a more advance feature set than the canvas API.
Flutter uses Skia, an open source 2D graphics engine to build its UI across all platforms. On web, Flutter’s Skia engine draws to HTML canvas instead of using a more familiar tree of DOM elements like <div> and <span>. This approach has the advantage of creating a consistent UI across all platforms, since Flutter isn’t using native web, iOS or Android elements which each have their own different implementations and design systems.
Getting back to our console error, we need to tell our Chrome extension that it is allowed to load scripts from the CanvasKit URL. We can do this by updating the manifest.json to specify an explicit content security policy (CSP) as shown below:
{
  "manifest_version": 2,
  "version": "0.0.1",
  "name": "chrome_extension",
  "description": "A new Flutter project.",
  "browser_action": {
    "default_popup": "index.html",
    "default_icon": {
      "16": "icons/icon-192.png",
      "32": "icons/icon-192.png",
      "48": "icons/icon-192.png",
      "128": "icons/icon-192.png"
    }
  },
  "content_security_policy": "script-src https://unpkg.com/canvaskit-wasm@0.30.0/bin/canvaskit.js;"
},
If you have other scripts that your extension will need to load, you can specify them using a space-delimited list in this content_security_policy field.
CanvasKit unsafe-eval error
When you rebuild your extension with the CSP issue fixed, you may still see another issue related to an unsafe-eval line being run:
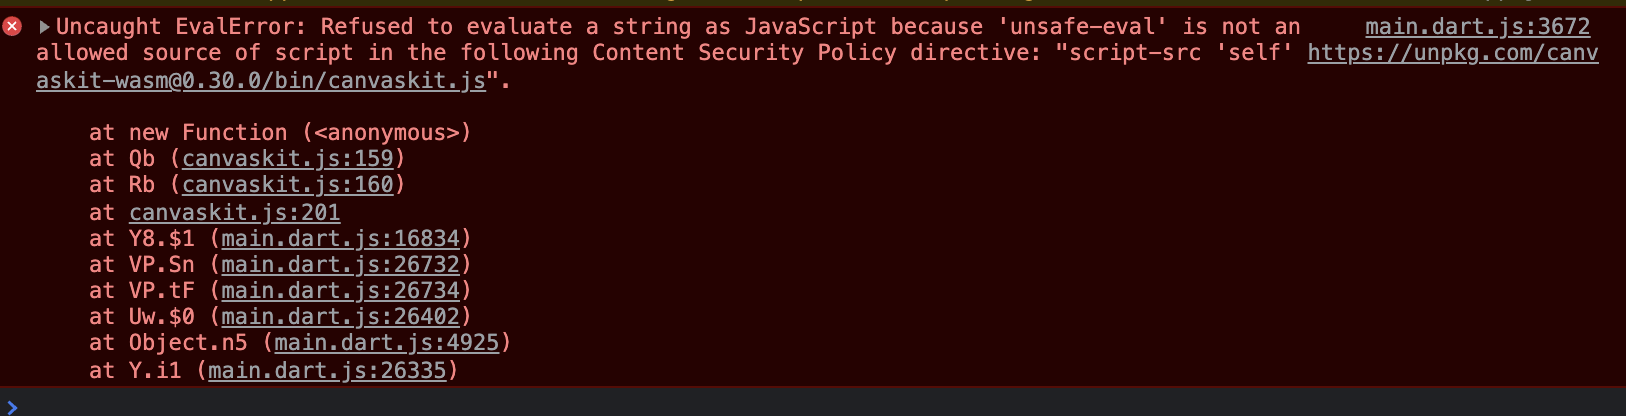
If you see this error, it is a known issue with Flutter and CanvasKit and we will have to use the HTML renderer instead of CanvasKit to build our extension.
As the Flutter docs describe, the HTML renderer uses a combination of HTML elements, CSS, Canvas elements, and SVG elements resulting in a smaller file size but worse performance and visual fidelity than using CanvasKit. It’s especially important for mobile browsers since CanvasKit runs north of 2MB in size and results in a very slow TTI for first time users on slow connections.
To cut over to using the HTML renderer, all we need to do is pass a flag when building our Flutter app:
flutter build web --web-renderer html
Running your extension
Now after rebuilding, when we open the app we shouldn’t see an error, but we do still just see a little square.
We need to set the size of our extension’s popup, which we can do with good ol’ fashioned CSS.
Add a flutter.css file to the head of the index.html like this:
<head>
  <link rel="stylesheet" href="flutter.css">
</head>
and then add a rule specifying the size of the document:
html {
  height: 540px;
  width: 324px;
}
Rebuilding again and clicking our popup, we now have a working app!
It works great! It was a bit slow to start up though. This is because by default on Flutter web, the script we moved to flutter_app.js will attempt to load your application from a service worker first and then timeout after 4 seconds to loading the main.dart.js file directly:
var serviceWorkerVersion = null;
var scriptLoaded = false;
function loadMainDartJs() {
  if (scriptLoaded) {
    return;
  }
  scriptLoaded = true;
  var scriptTag = document.createElement('script');
  scriptTag.src = 'main.dart.js';
  scriptTag.type = 'application/javascript';
  document.body.append(scriptTag);
}

if ('serviceWorker' in navigator) {
  window.addEventListener('load', function () {
    var serviceWorkerUrl = 'flutter_service_worker.js?v=' + serviceWorkerVersion;
    navigator.serviceWorker.register(serviceWorkerUrl)
      .then((reg) => {
        function waitForActivation(serviceWorker) {
          serviceWorker.addEventListener('statechange', () => {
            if (serviceWorker.state == 'activated') {
              console.log('Installed new service worker.');
              loadMainDartJs();
            }
          });
        }
        if (!reg.active && (reg.installing || reg.waiting)) {
          waitForActivation(reg.installing || reg.waiting);
        } else if (!reg.active.scriptURL.endsWith(serviceWorkerVersion)) {
          reg.update();
          waitForActivation(reg.installing);
        } else {
          loadMainDartJs();
        }
      });

    setTimeout(() => {
      if (!scriptLoaded) {
        console.warn(
          'Failed to load app from service worker. Falling back to plain <script> tag.',
        );
        loadMainDartJs();
      }
    }, 4000);
  });
} else {
  loadMainDartJs();
}
The service worker wasn’t working correctly for us so we opted to remove this script entirely and replace it with a line to load the main.dart.js script directly in the index.html file:
<body>
  <script src="main.dart.js" type="application/javascript"></script>
</body>
You can alternatively keep it and reduce the service worker timeout if you’re interested in exploring working with service workers more.
Re-building and running you application one last time, you should see a much faster startup:
Happy building
That wraps up our first guide on writing Chrome extensions with Flutter. This walkthrough was focused on application creating and setup. In the future we will dive into some other topics like authenticating your Chrome extension (we use Firebase) and using tools like background services.
Happy coding!